
Let's get started!
1. Open a 600 x 600 white canvas.
2. Copy and paste "frame 4", resize
70%, place in middle of frame, and
duplicate.
Using your magic wand, select the
inside of the bottom frame layer
(make sure to get all open areas),
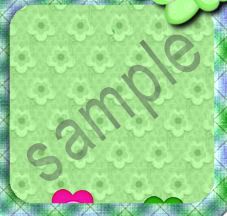
expand by 4, invert, copy and paste
"paper 1", press delete, and select
none.
3. Copy and paste your tube, resize
as needed, add dropshadow, place
between the two frame layers, and
erase any part of the tube that you
don't want showing outside of your
frame.
Make your top frame layer active and
erase any part of the frame where
you want the tube to show through.
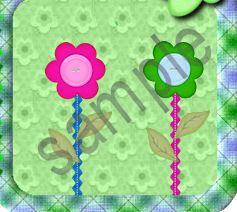
4. Copy and paste "flower 1", resize
20%, add dropshadow, duplicate, and
place them at the ends of the
ribbons.
5. Copy and paste "heart 1", resize
35%, add dropshadow, free rotate left
40, and place on the top left corner of
your frame.
6. Copy and paste "gem 1", resize
25%, duplicate 4 times, and place
down the right side of your frame.
Merge all of the gems together and
add a dropshadow of choice.
7. Set foreground to #07baa6 and
background to #e50daa.
Using your text tool set to Impact 72
stroke width 5, add desired text, free
rotate right 90, fill space on right side
of frame, convert to raster layer, and
add dropshadow.
8. Add copyright and watermark.
Resize all layers 80%.
Save and you're finished!
___________________________